
December 14, 2025
How To:
Natural Wreath Making for the Holidays
Living | Home
By: Brianna Anderson

I know you’ve scrolled your Instagram and looked at gorgeous natural wreaths and thought, “Wow, I wonder if I could make something like that?”
You totally can! In fact, I’m going to walk you through the steps of creating your own beautiful, handcrafted wreath this season.
Grab some friends or family for a festive gathering or treat yourself to a cozy night of creating!
This wreath looks beautiful styled for the holiday season, but also transitions well into the wintery hues of January. No matter the month or occasion, you’re going to love your finished product and want it up year round. Let’s get started!
SOURCING MATERIALS
I would say sourcing your greenery is the hardest part of making a natural wreath. Unless you have branches to cut in your backyard, you have to go elsewhere.
I was able to pick up a variety of greenery from my local nursery. Typically, if a nursery is open selling Christmas trees during the winter, they have bundles of clippings you can purchase.
If that isn’t an option, ask local tree farms or even pop-up tree stands if they have clippings you can have/buy.
You can also reach out to local florists and see if they can sell you greenery. I would reach out very early in the season (Like October) if this is the route you want to take next year.
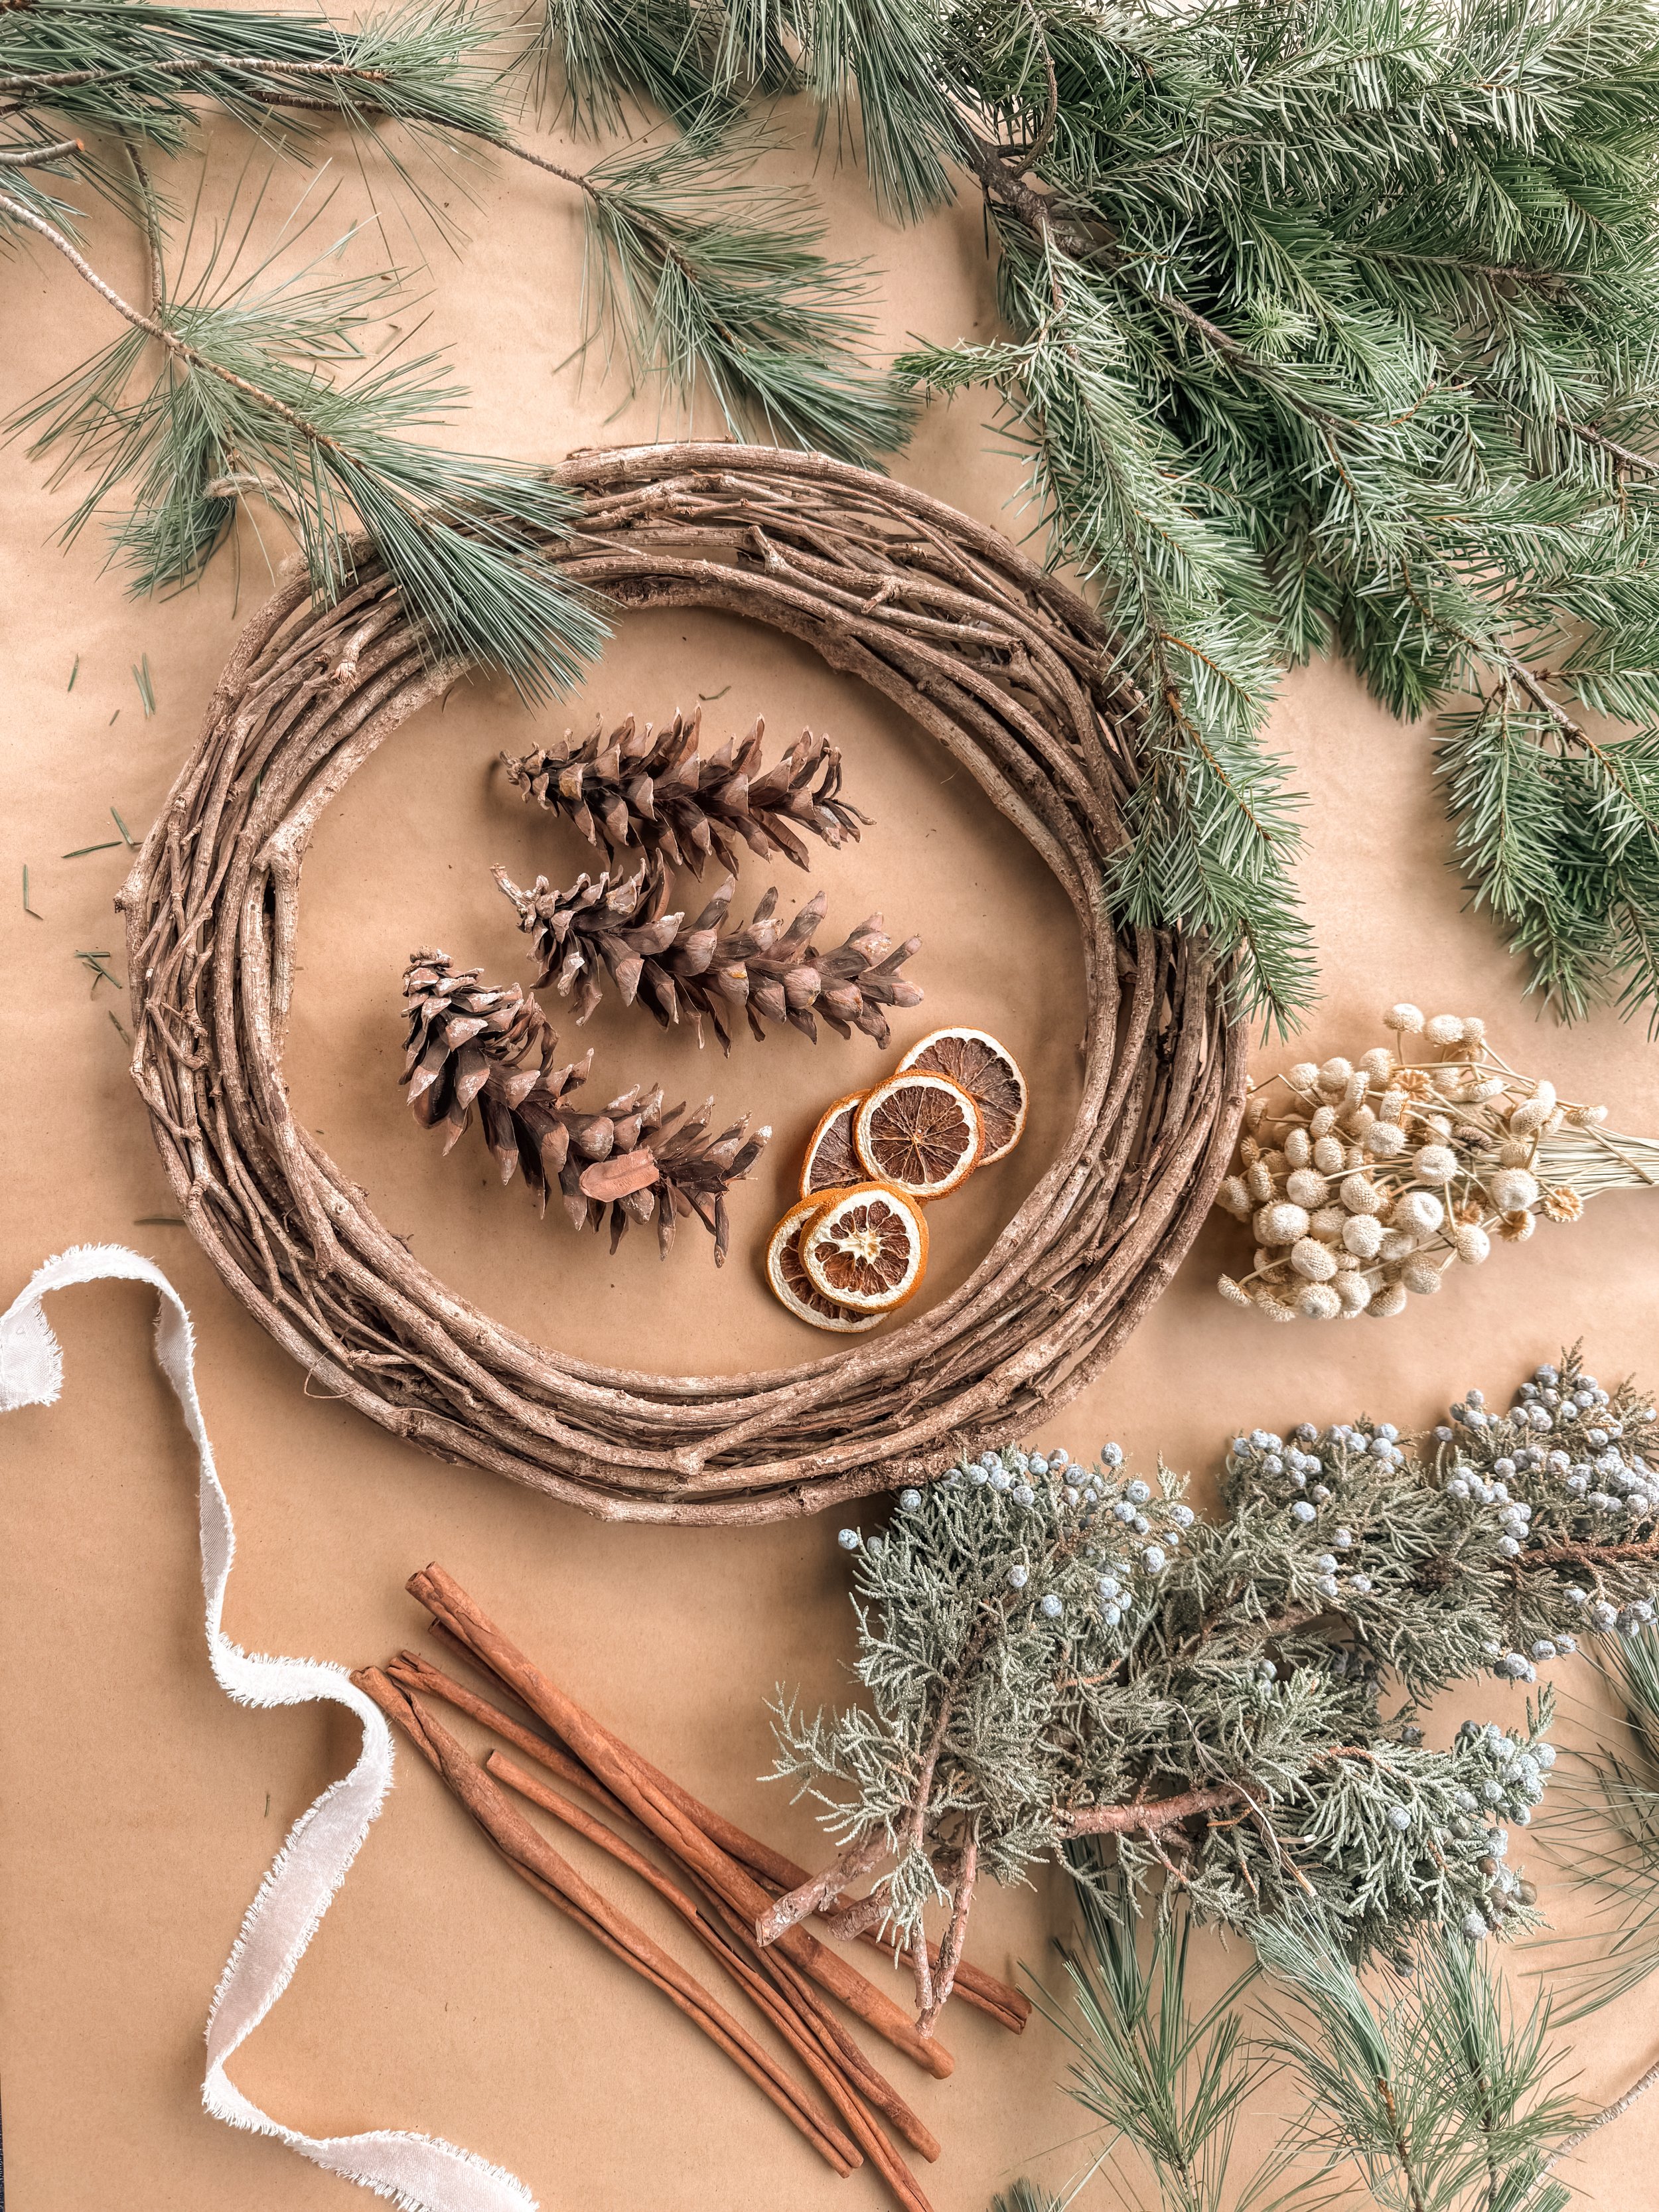
The natural materials I collected for my wreath:
1 bundle of Pine
1 bundle of Douglas Fir
1 bundle Juniper
I have A LOT left over after making one wreath. You could get 3-4 wreaths (the style of the one I made, not full wreaths) out of this amount.
Other materials needed:
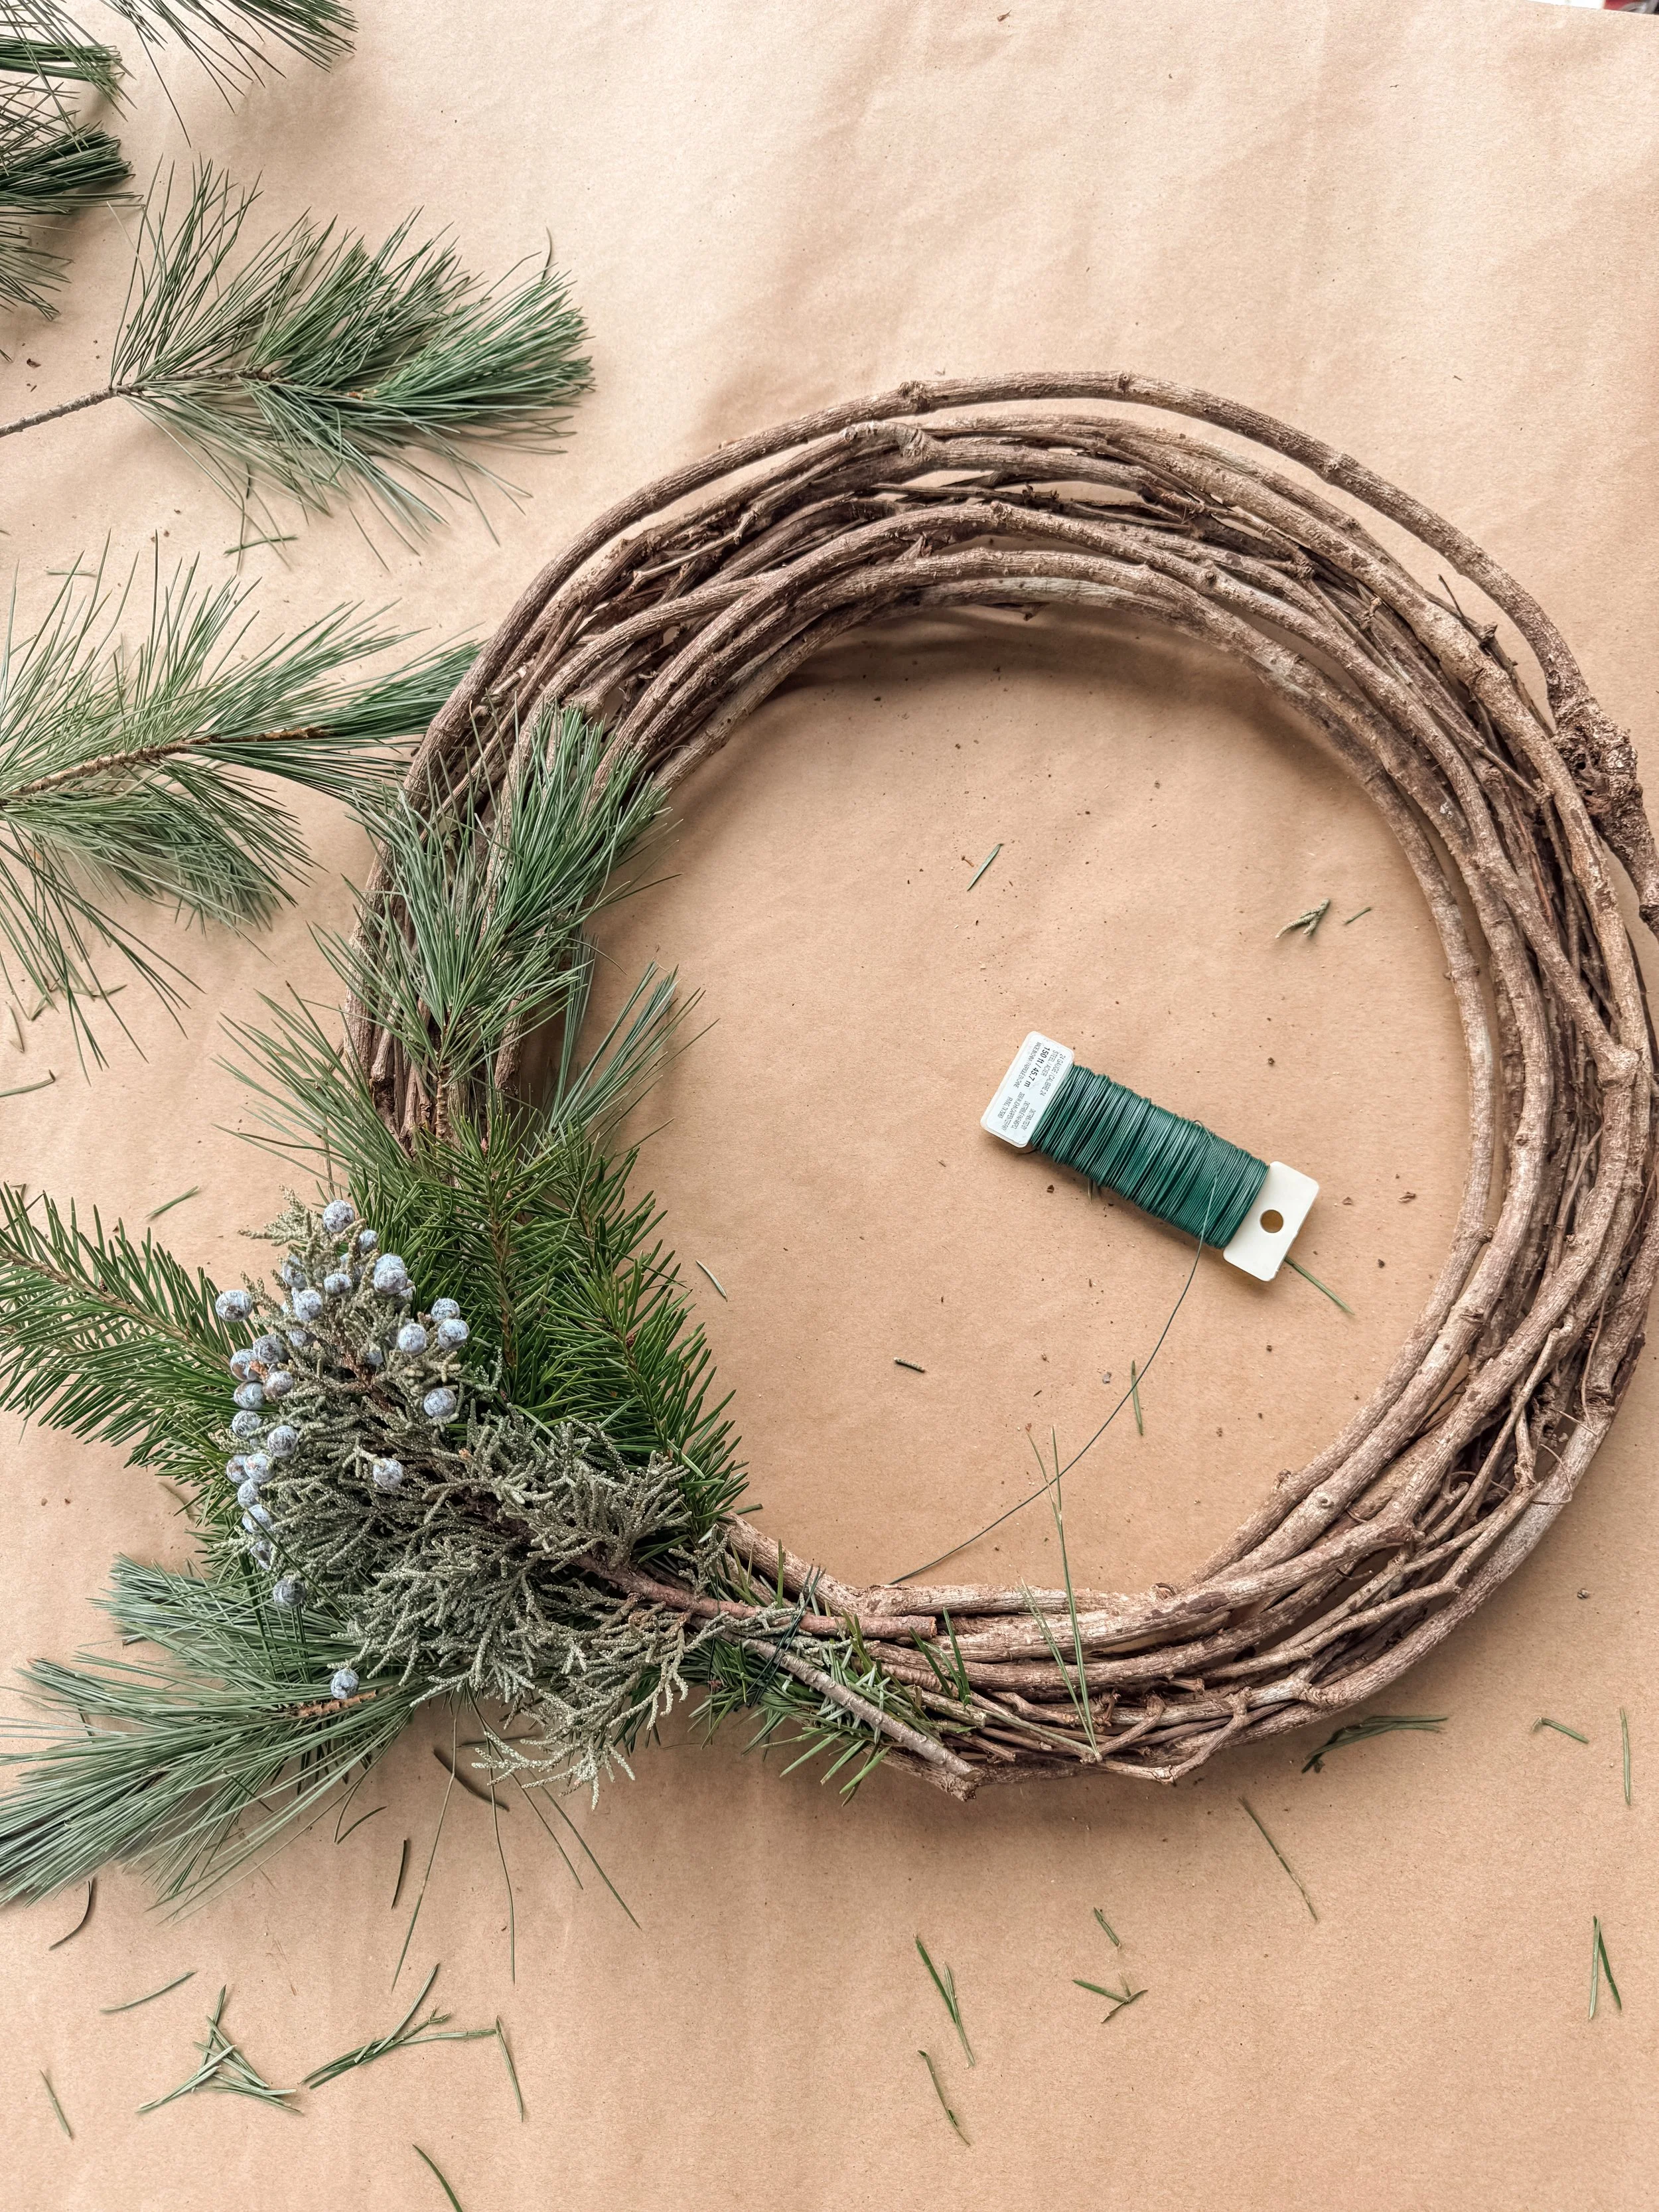
Wreath base: grapevine, willow, or metal for full wreaths
I used a 14” thrifted wreath base. You can find most bases at Michael’s or Hobby Lobby if you don’t find one while thrifting! Pick them up during the off season and save for the holidays to create with!
Floral Paddle Wire
Hot Glue Gun + Glue
Ribbon
Additional Natural Elements: Dried Grapefruit, Dried Oranges, Cinnamon Sticks, Twigs, Dried Floral, Pinecones, etc.
THE PROCESS
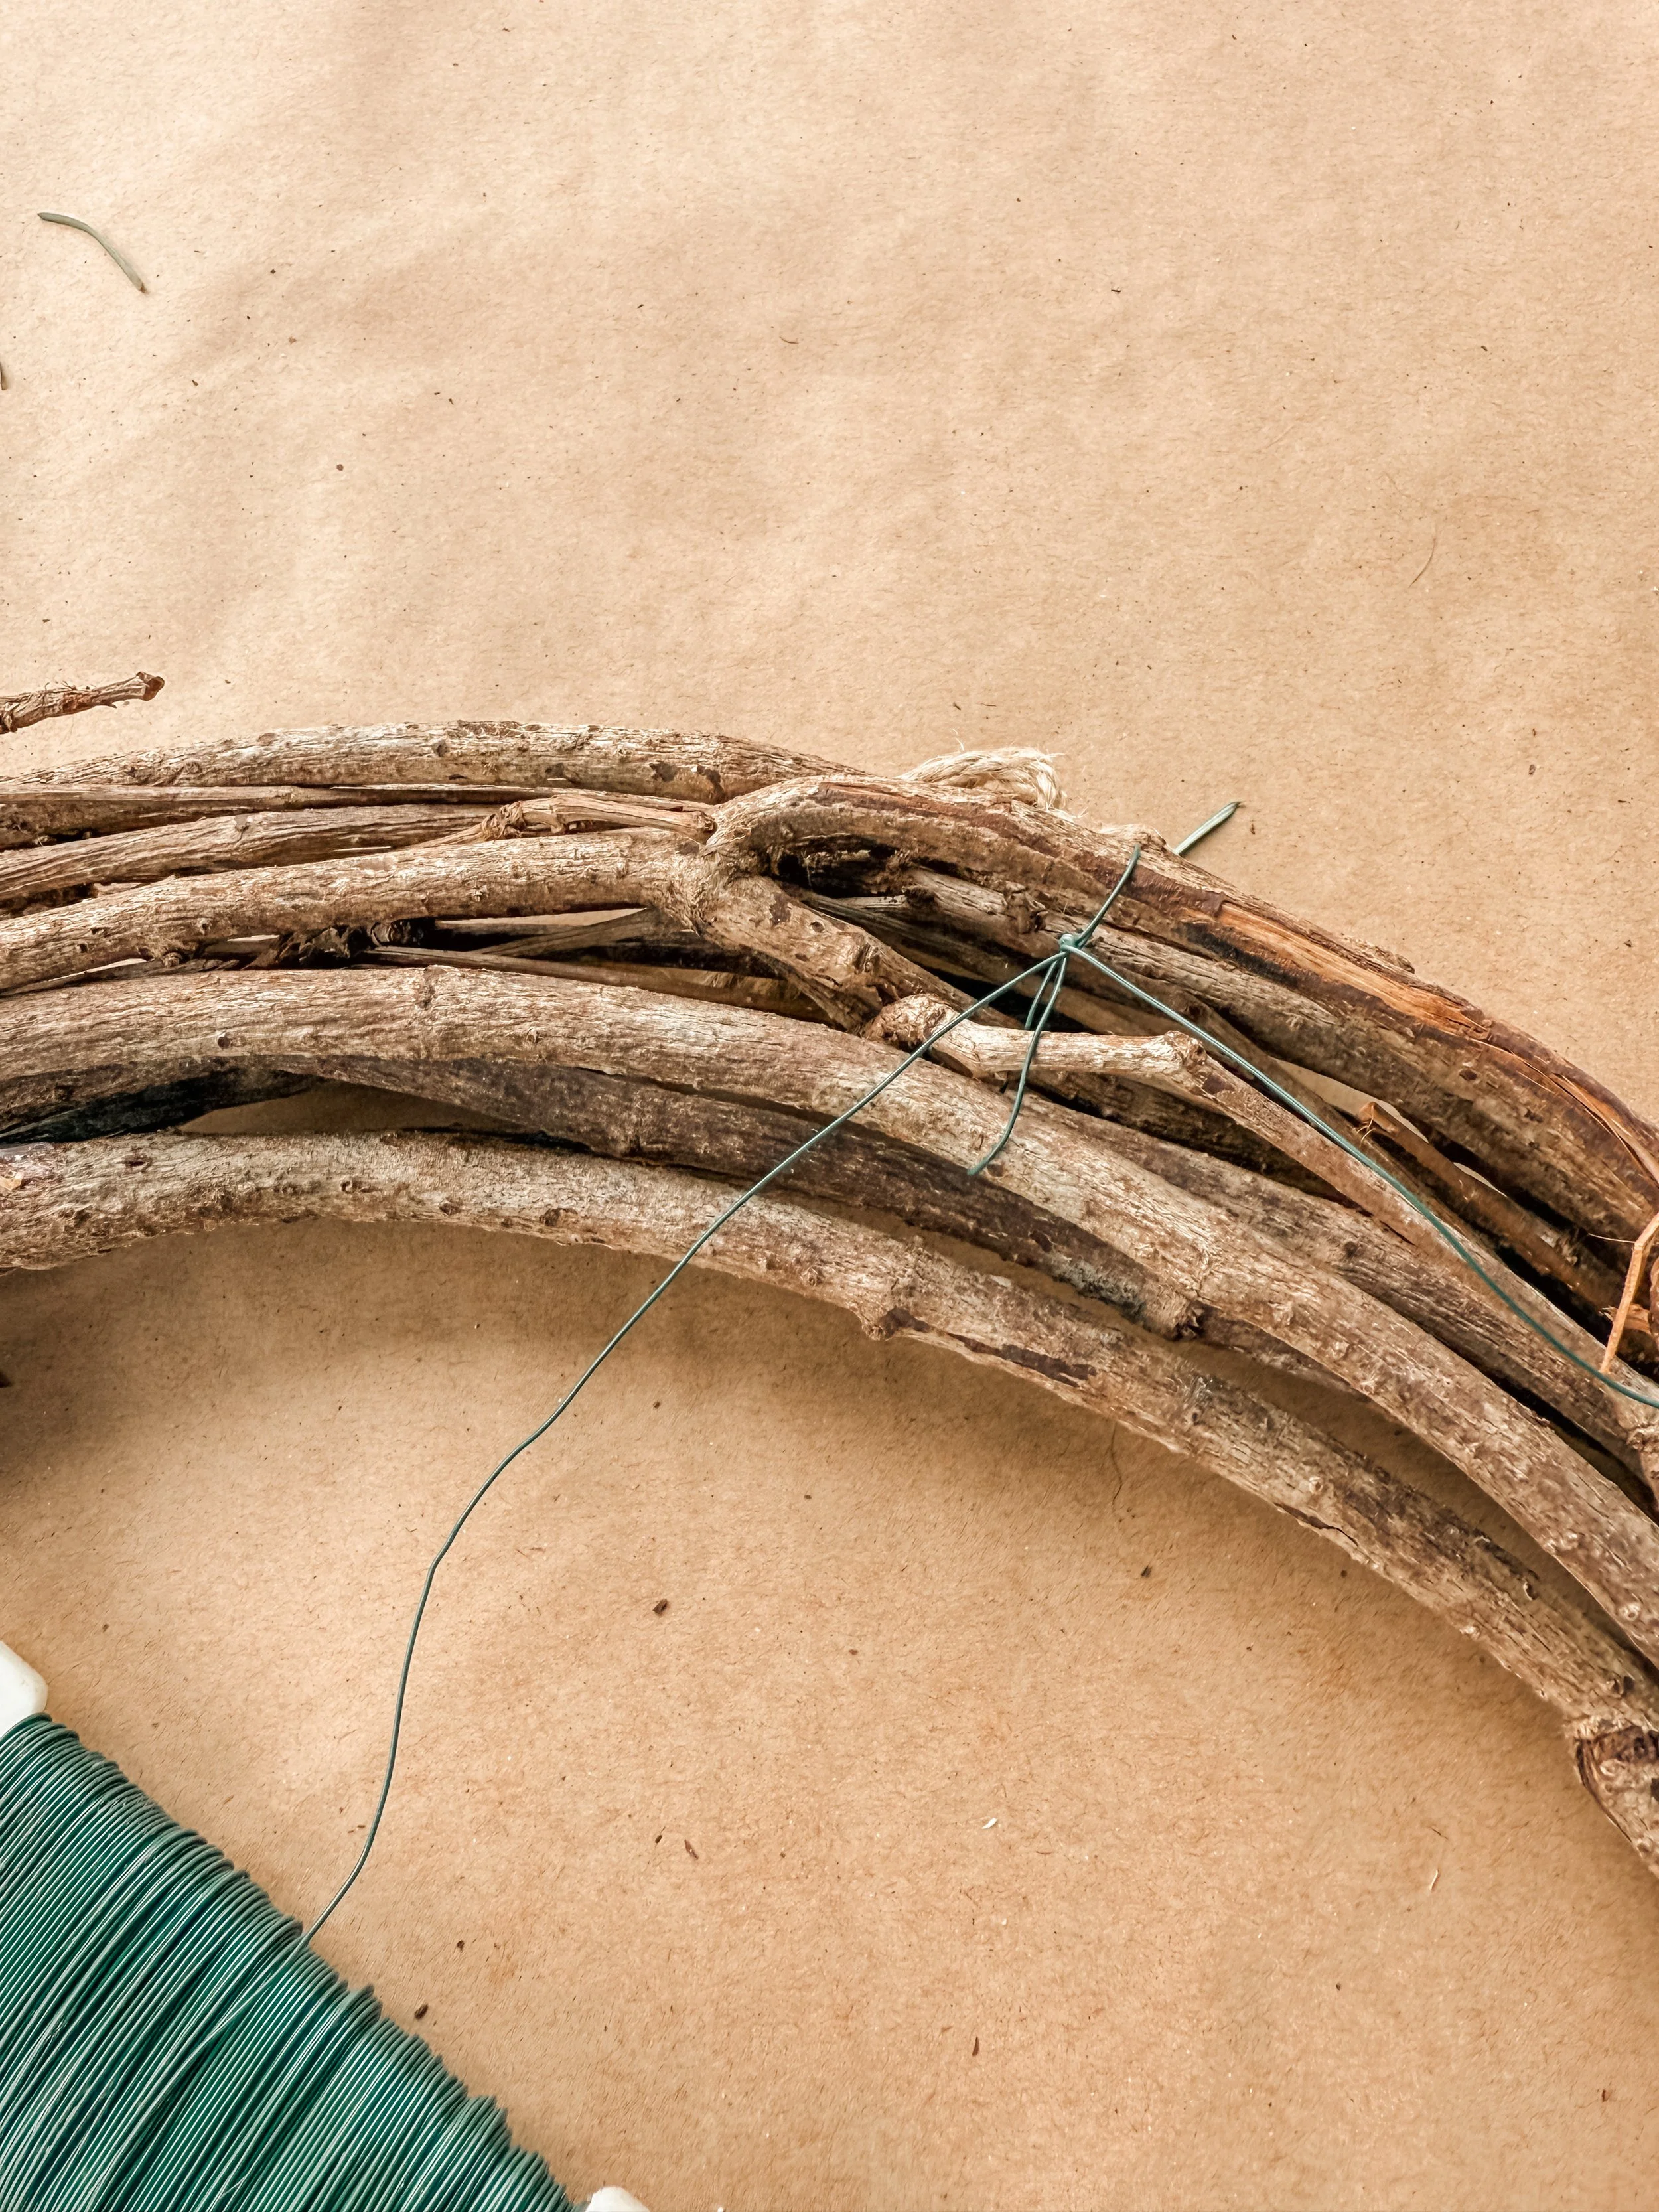
1. Tie the floral wire to the back of the wreath so it is secure. Flip it back over so the wire is under the wreath. You will not cut this wire until you are done securing greenery.

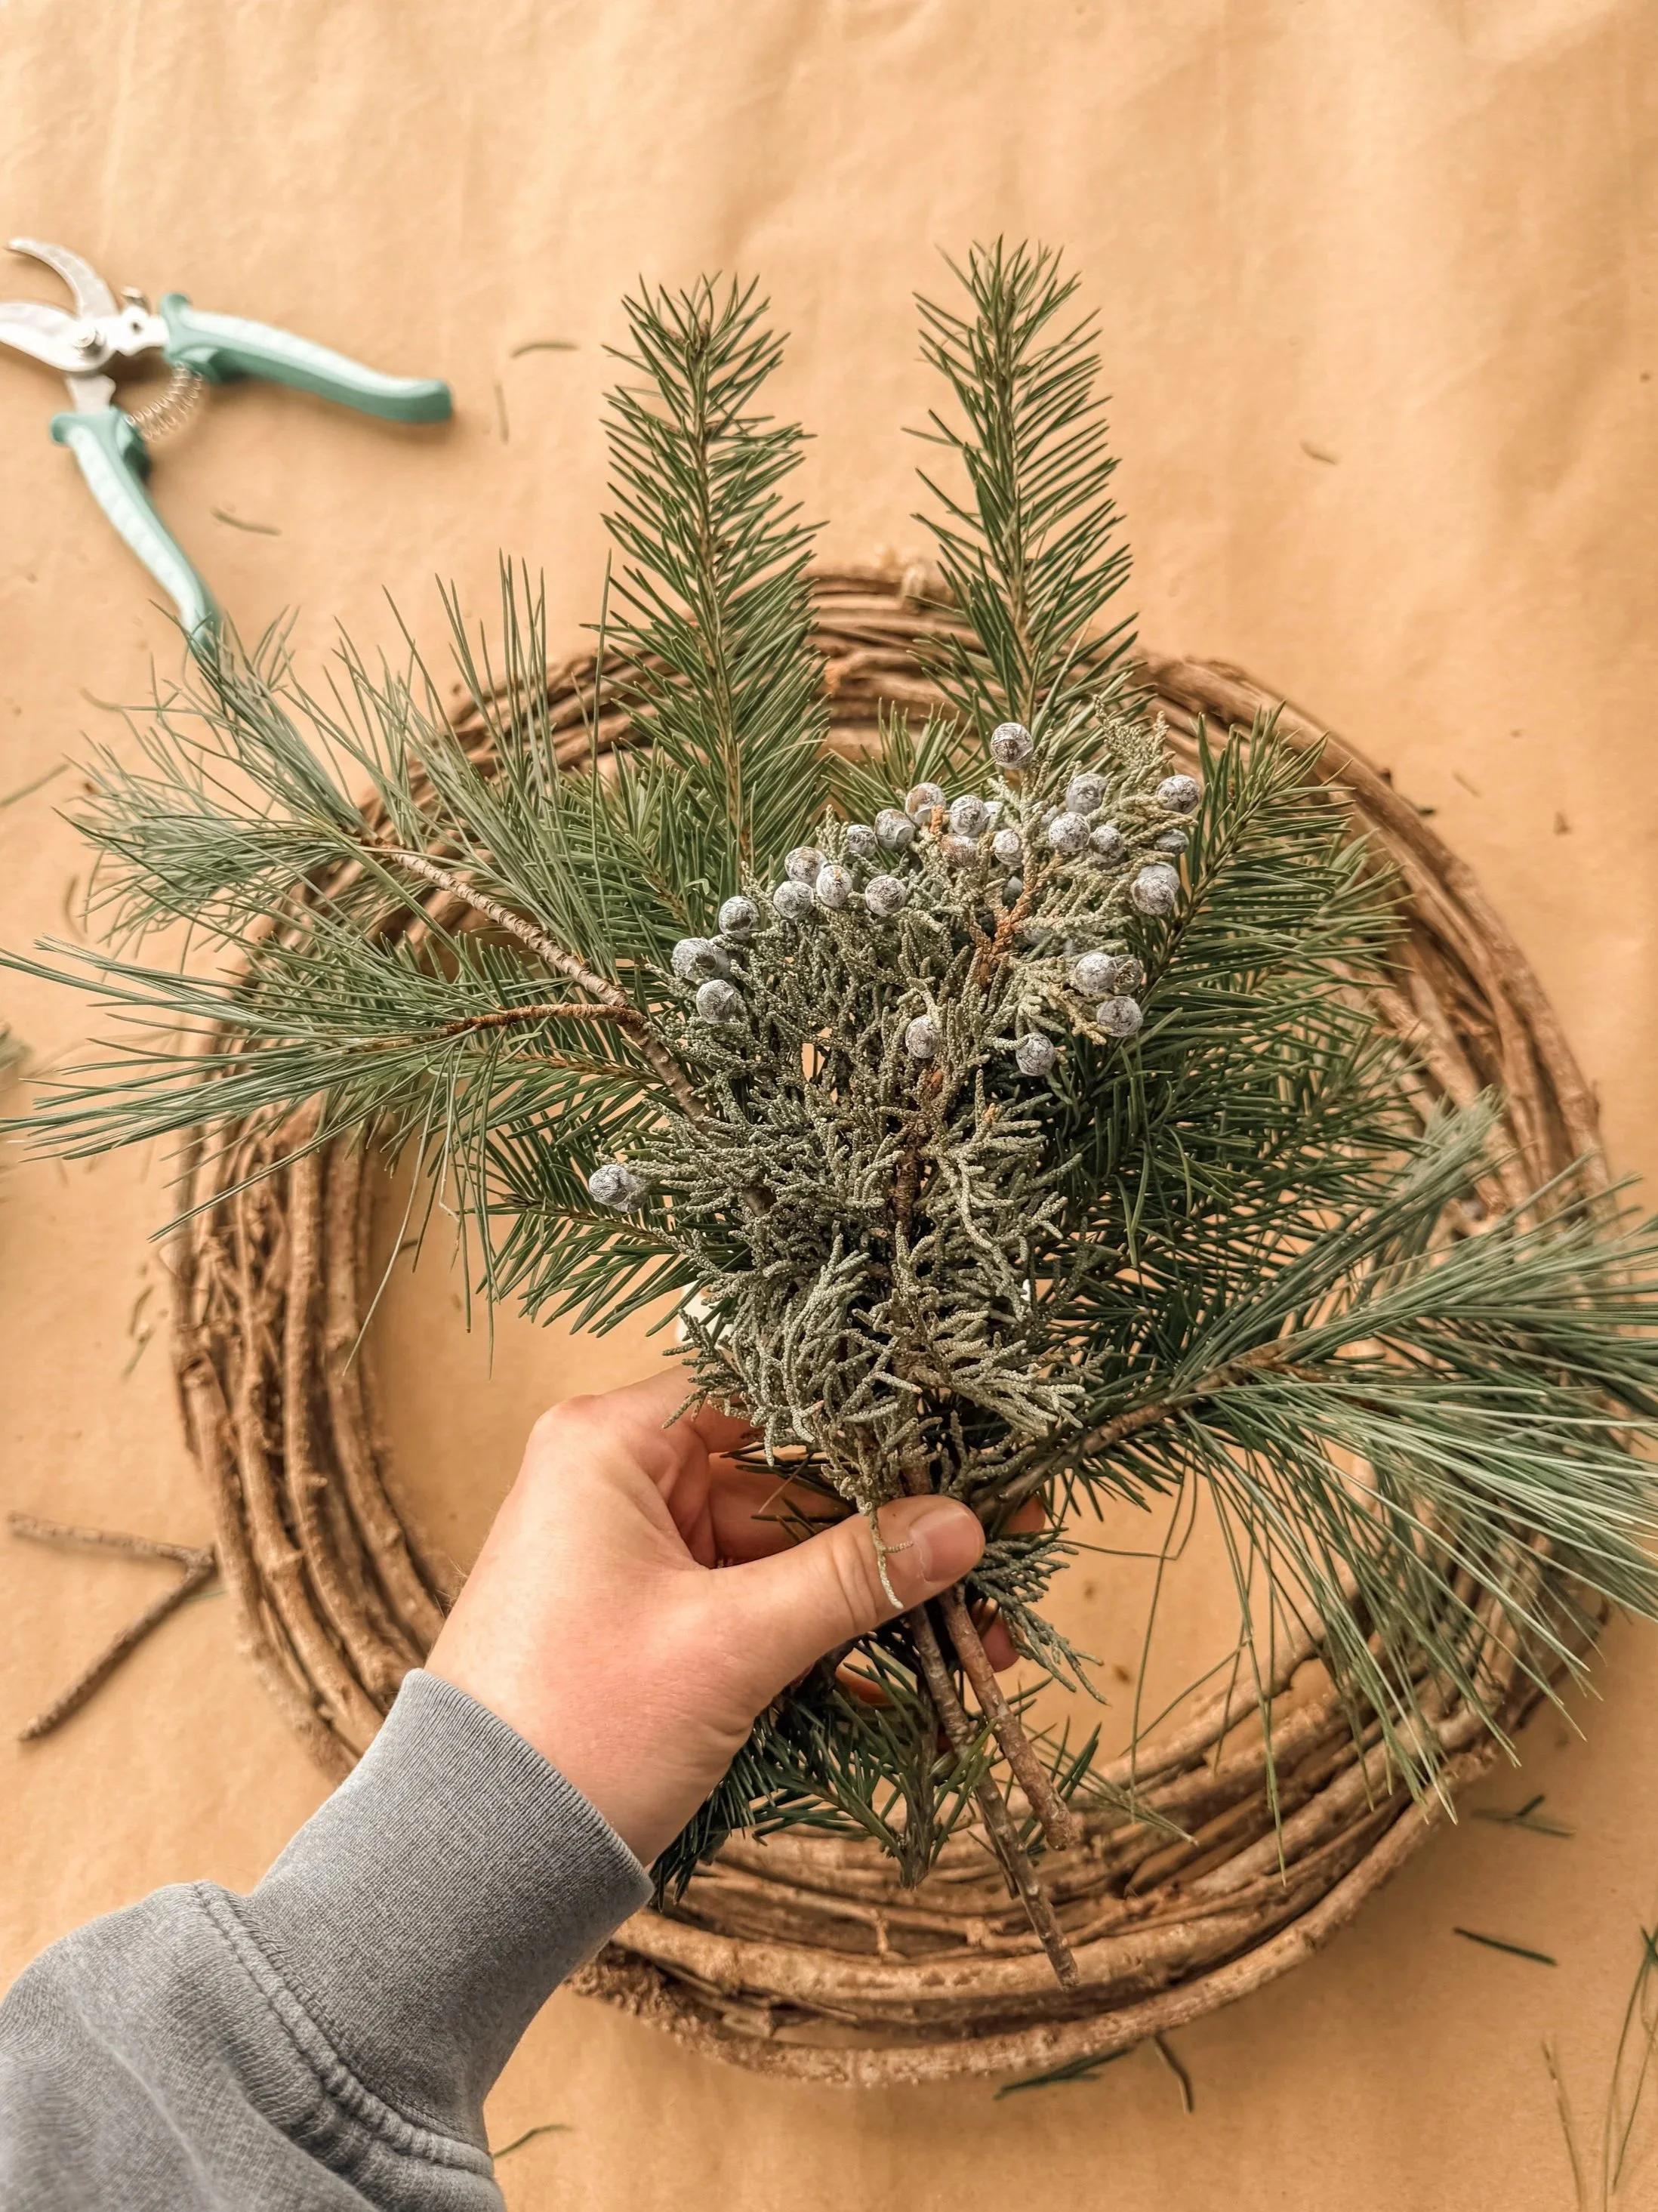
2. Create your bundle (8”-12”) of various greens, place on the base and wrap the wire around the stems three times, pulling tightly. Combine textures and cut to the size of your liking. For this example, I only used three 11” bundles.
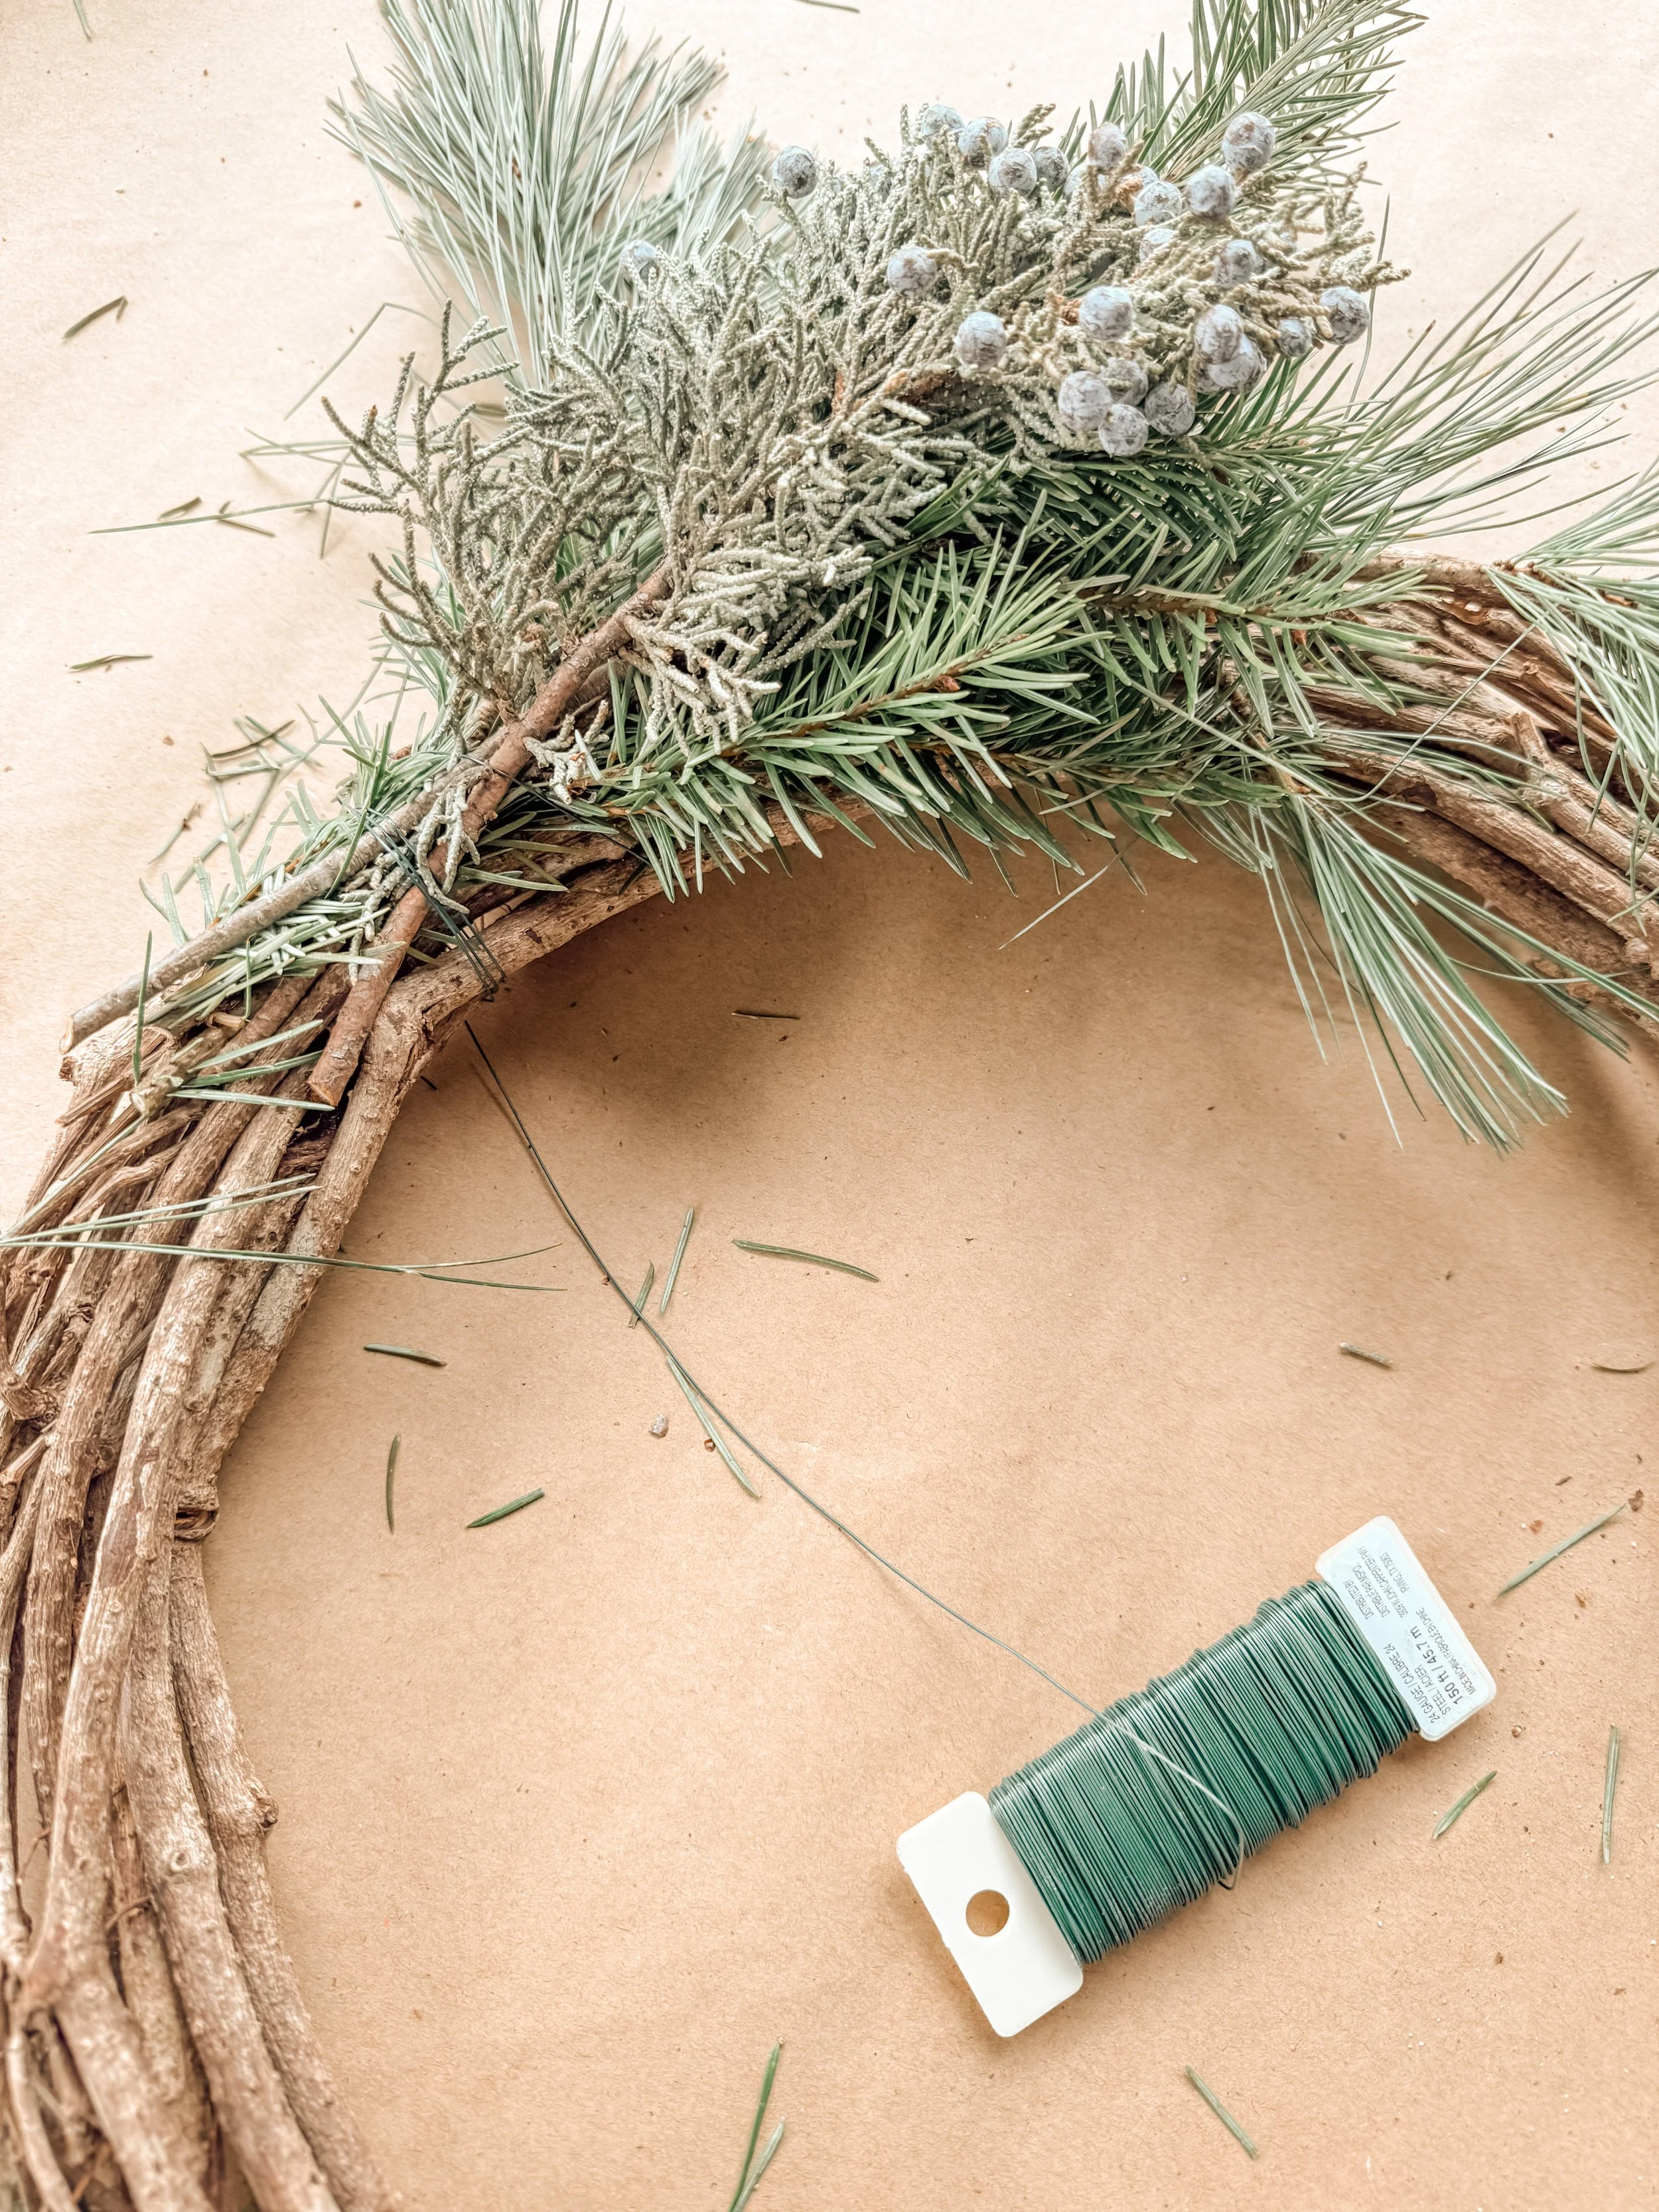
3.Layer the second bundle on top of the first, wrapping the wire and pulling tightly.
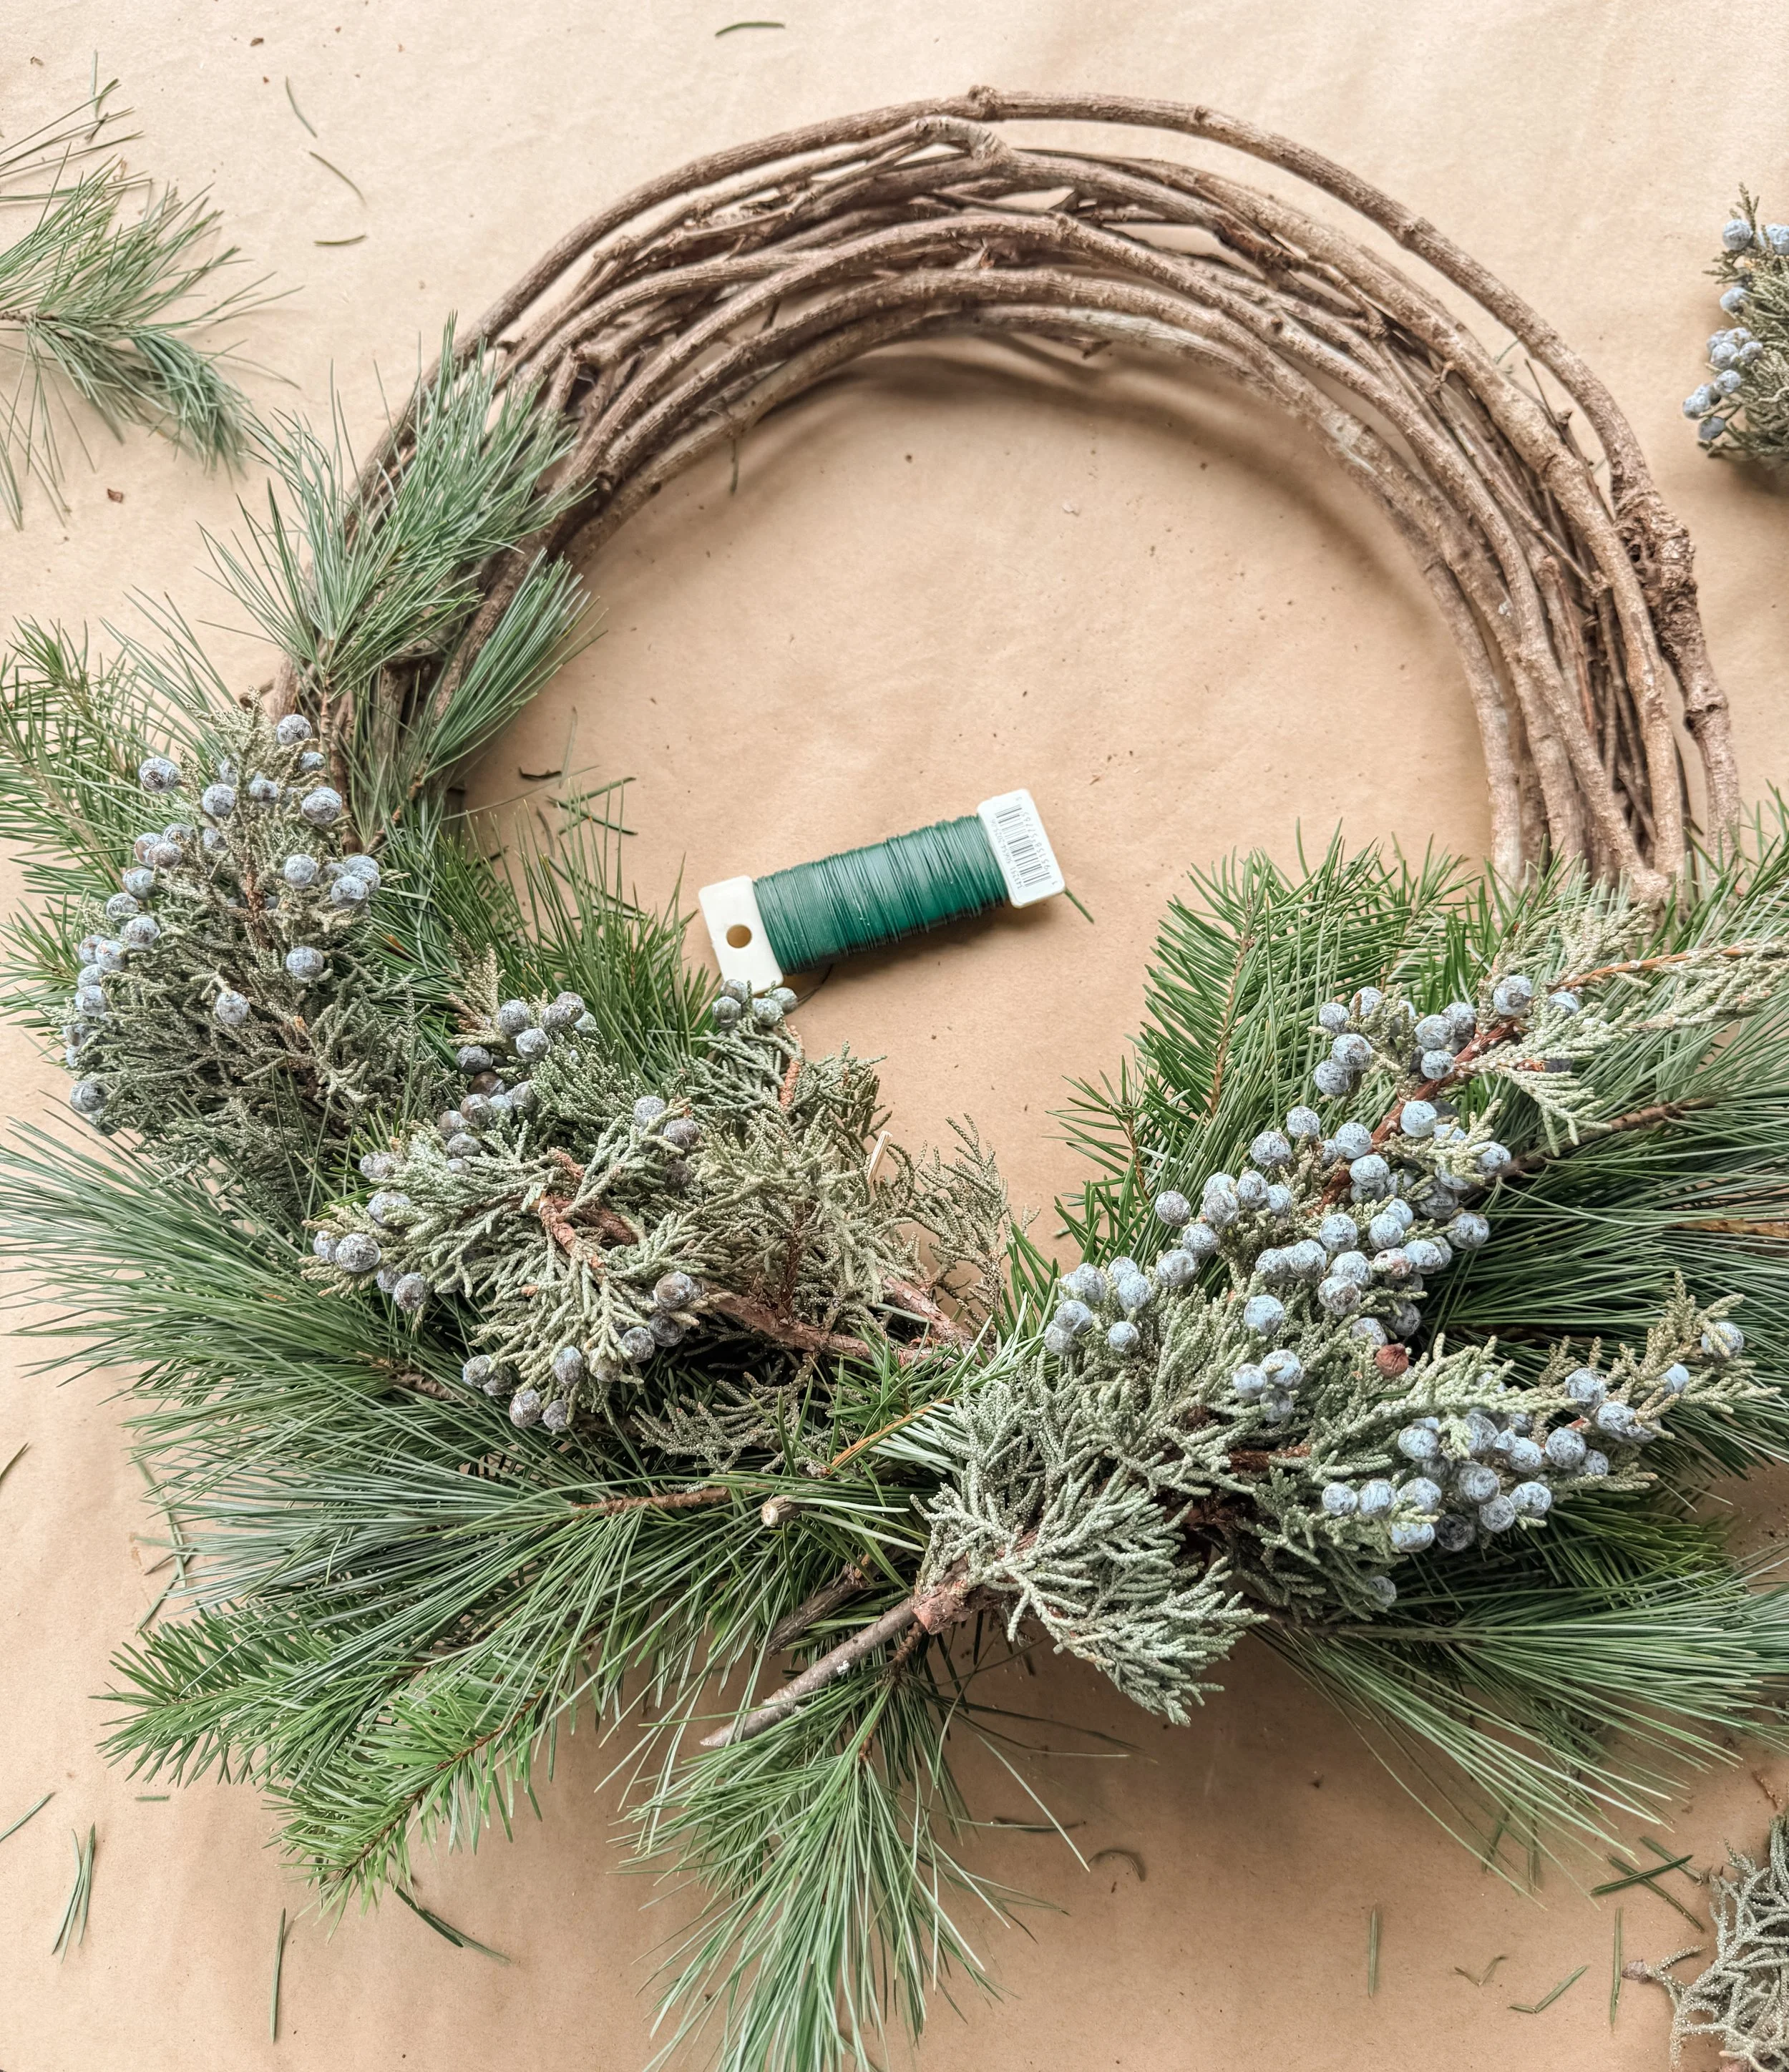
4. For the third bundle, lay it the opposite way from the other two. If you are going to be wrapping bundles the entire way around for a full wreath, you do not want to change the direction of your bundles. However, for this style of wreath, we will change direction.
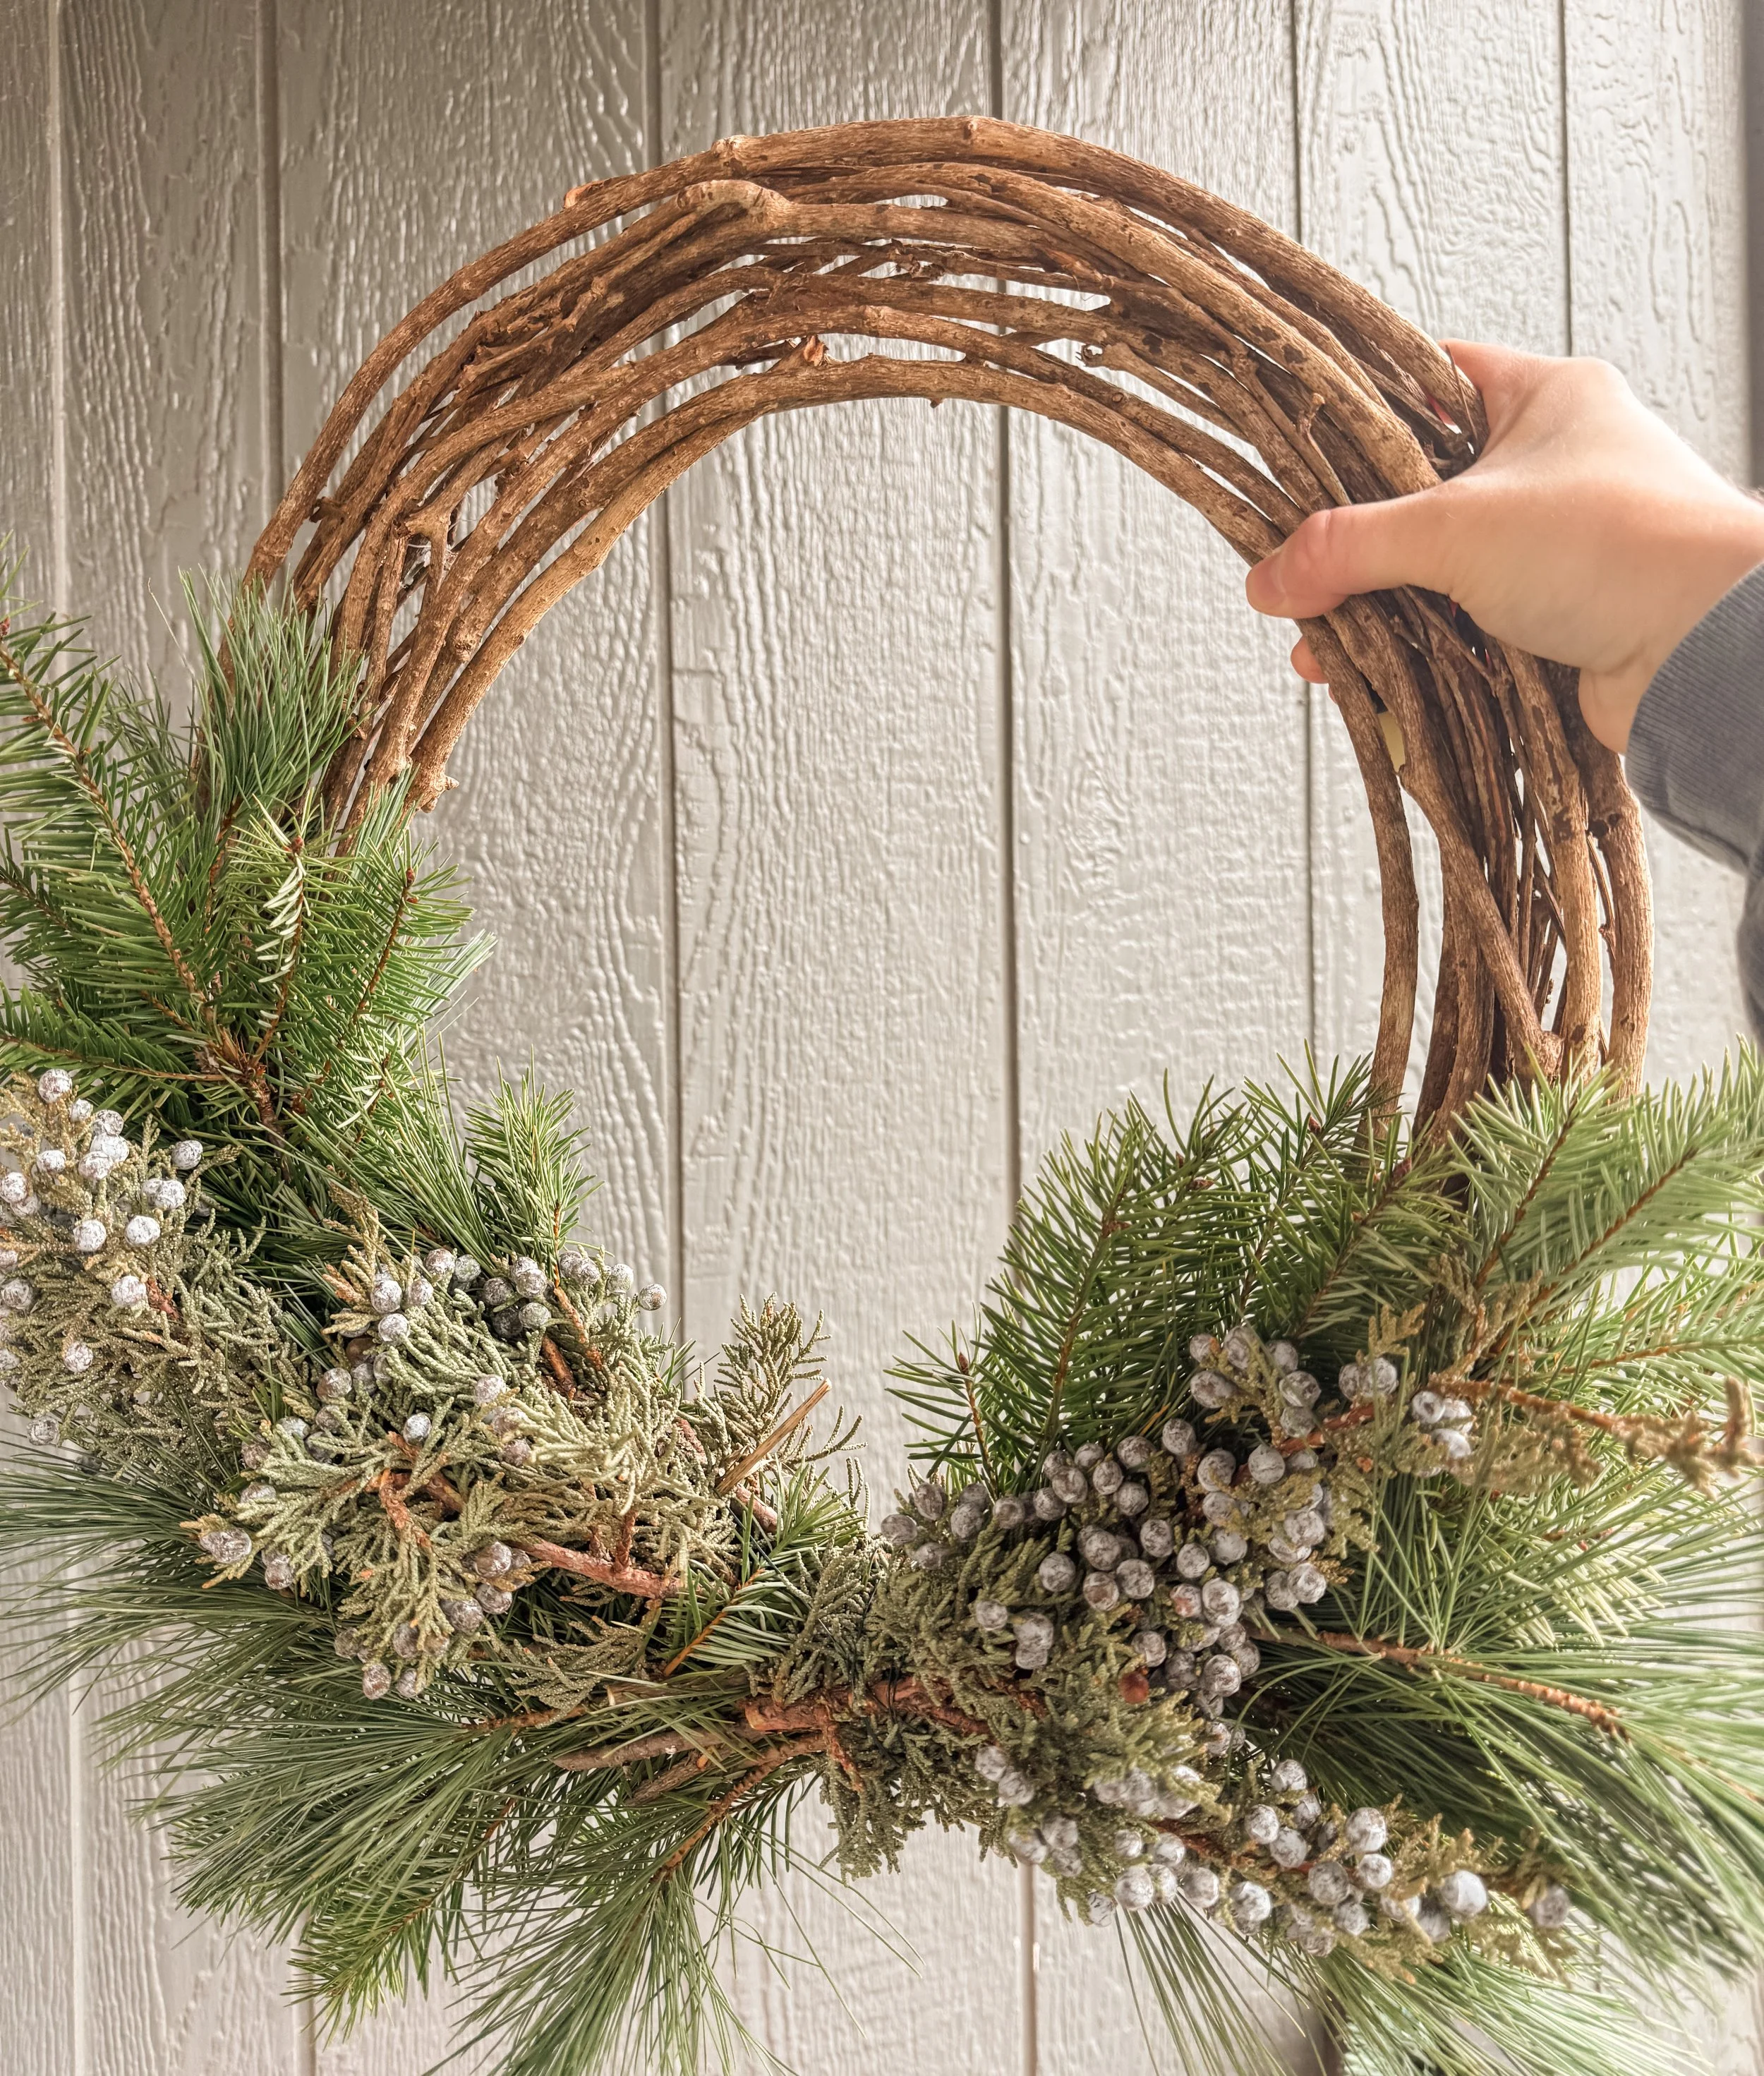
5. Take a moment to hold up the wreath and look at spots that might need some extra oomph. Having a friend there is especially helpful for this part! Once you like the look, cut the floral wire leaving 6” and weave that excess wire (like how you started) into the back of the wreath to secure the bundles to the base.
6. Fill in bare spots with additional bits of greenery. You can usually poke into the existing wire or hot glue if needed.
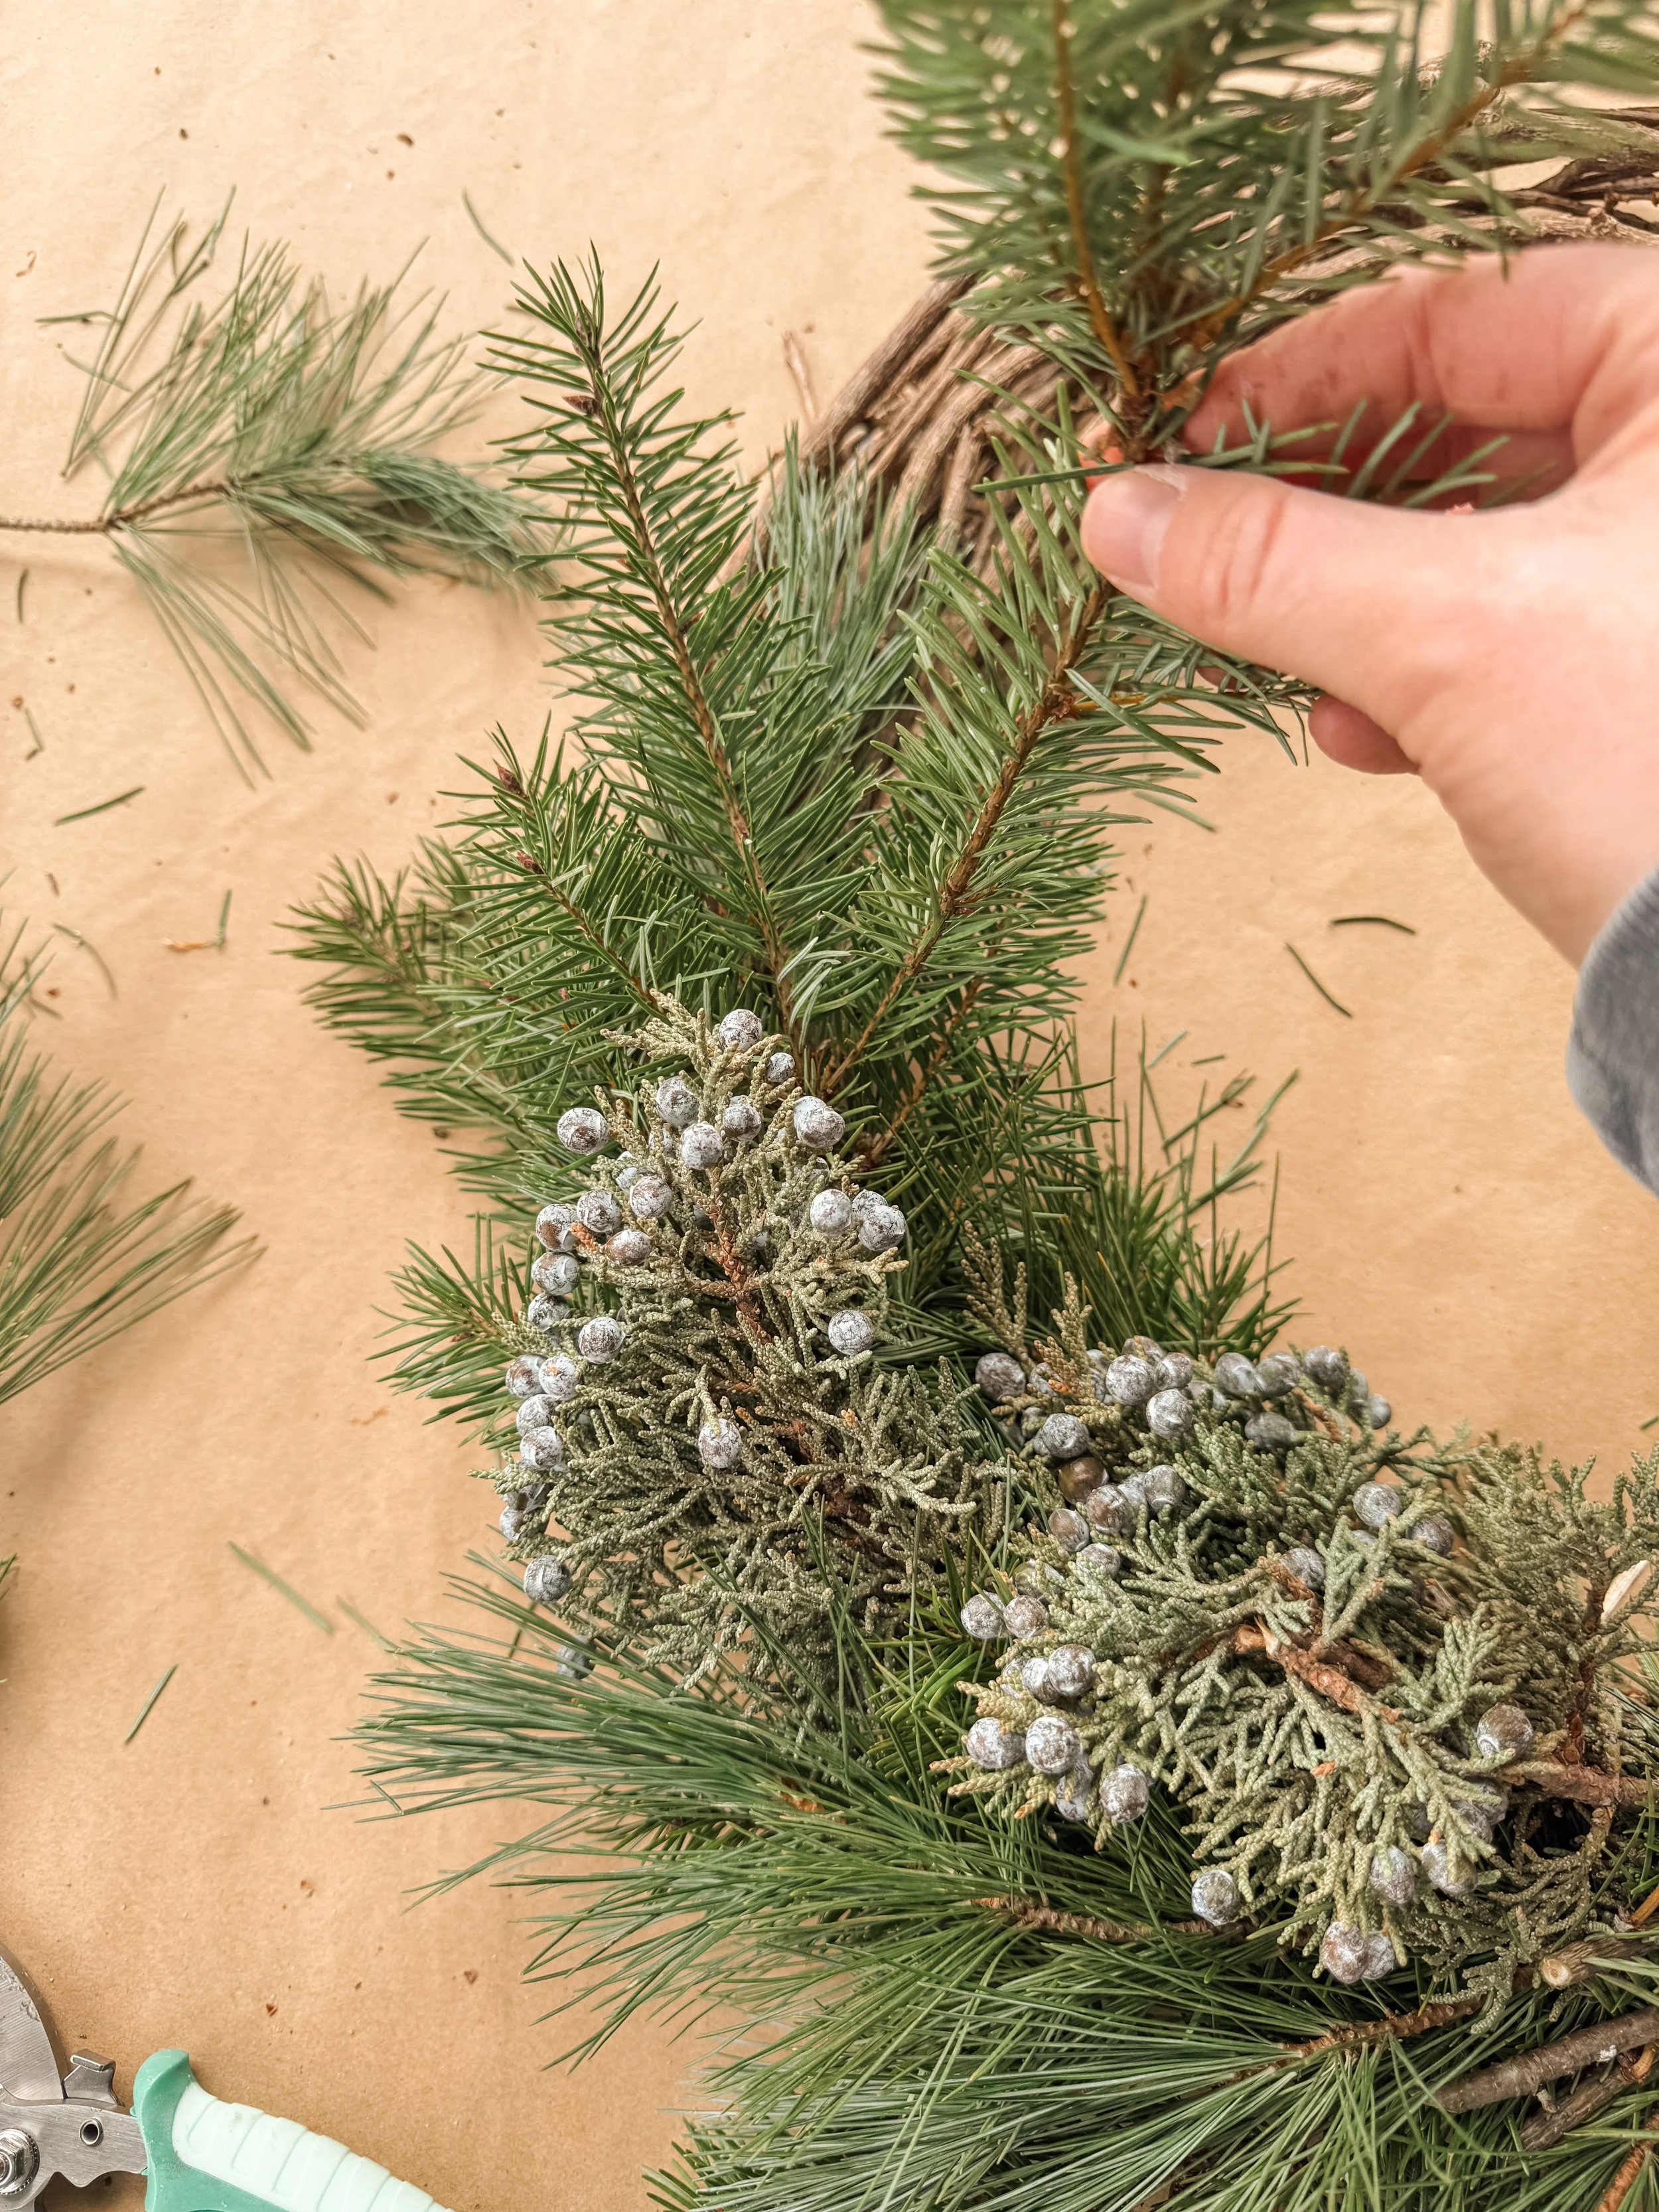
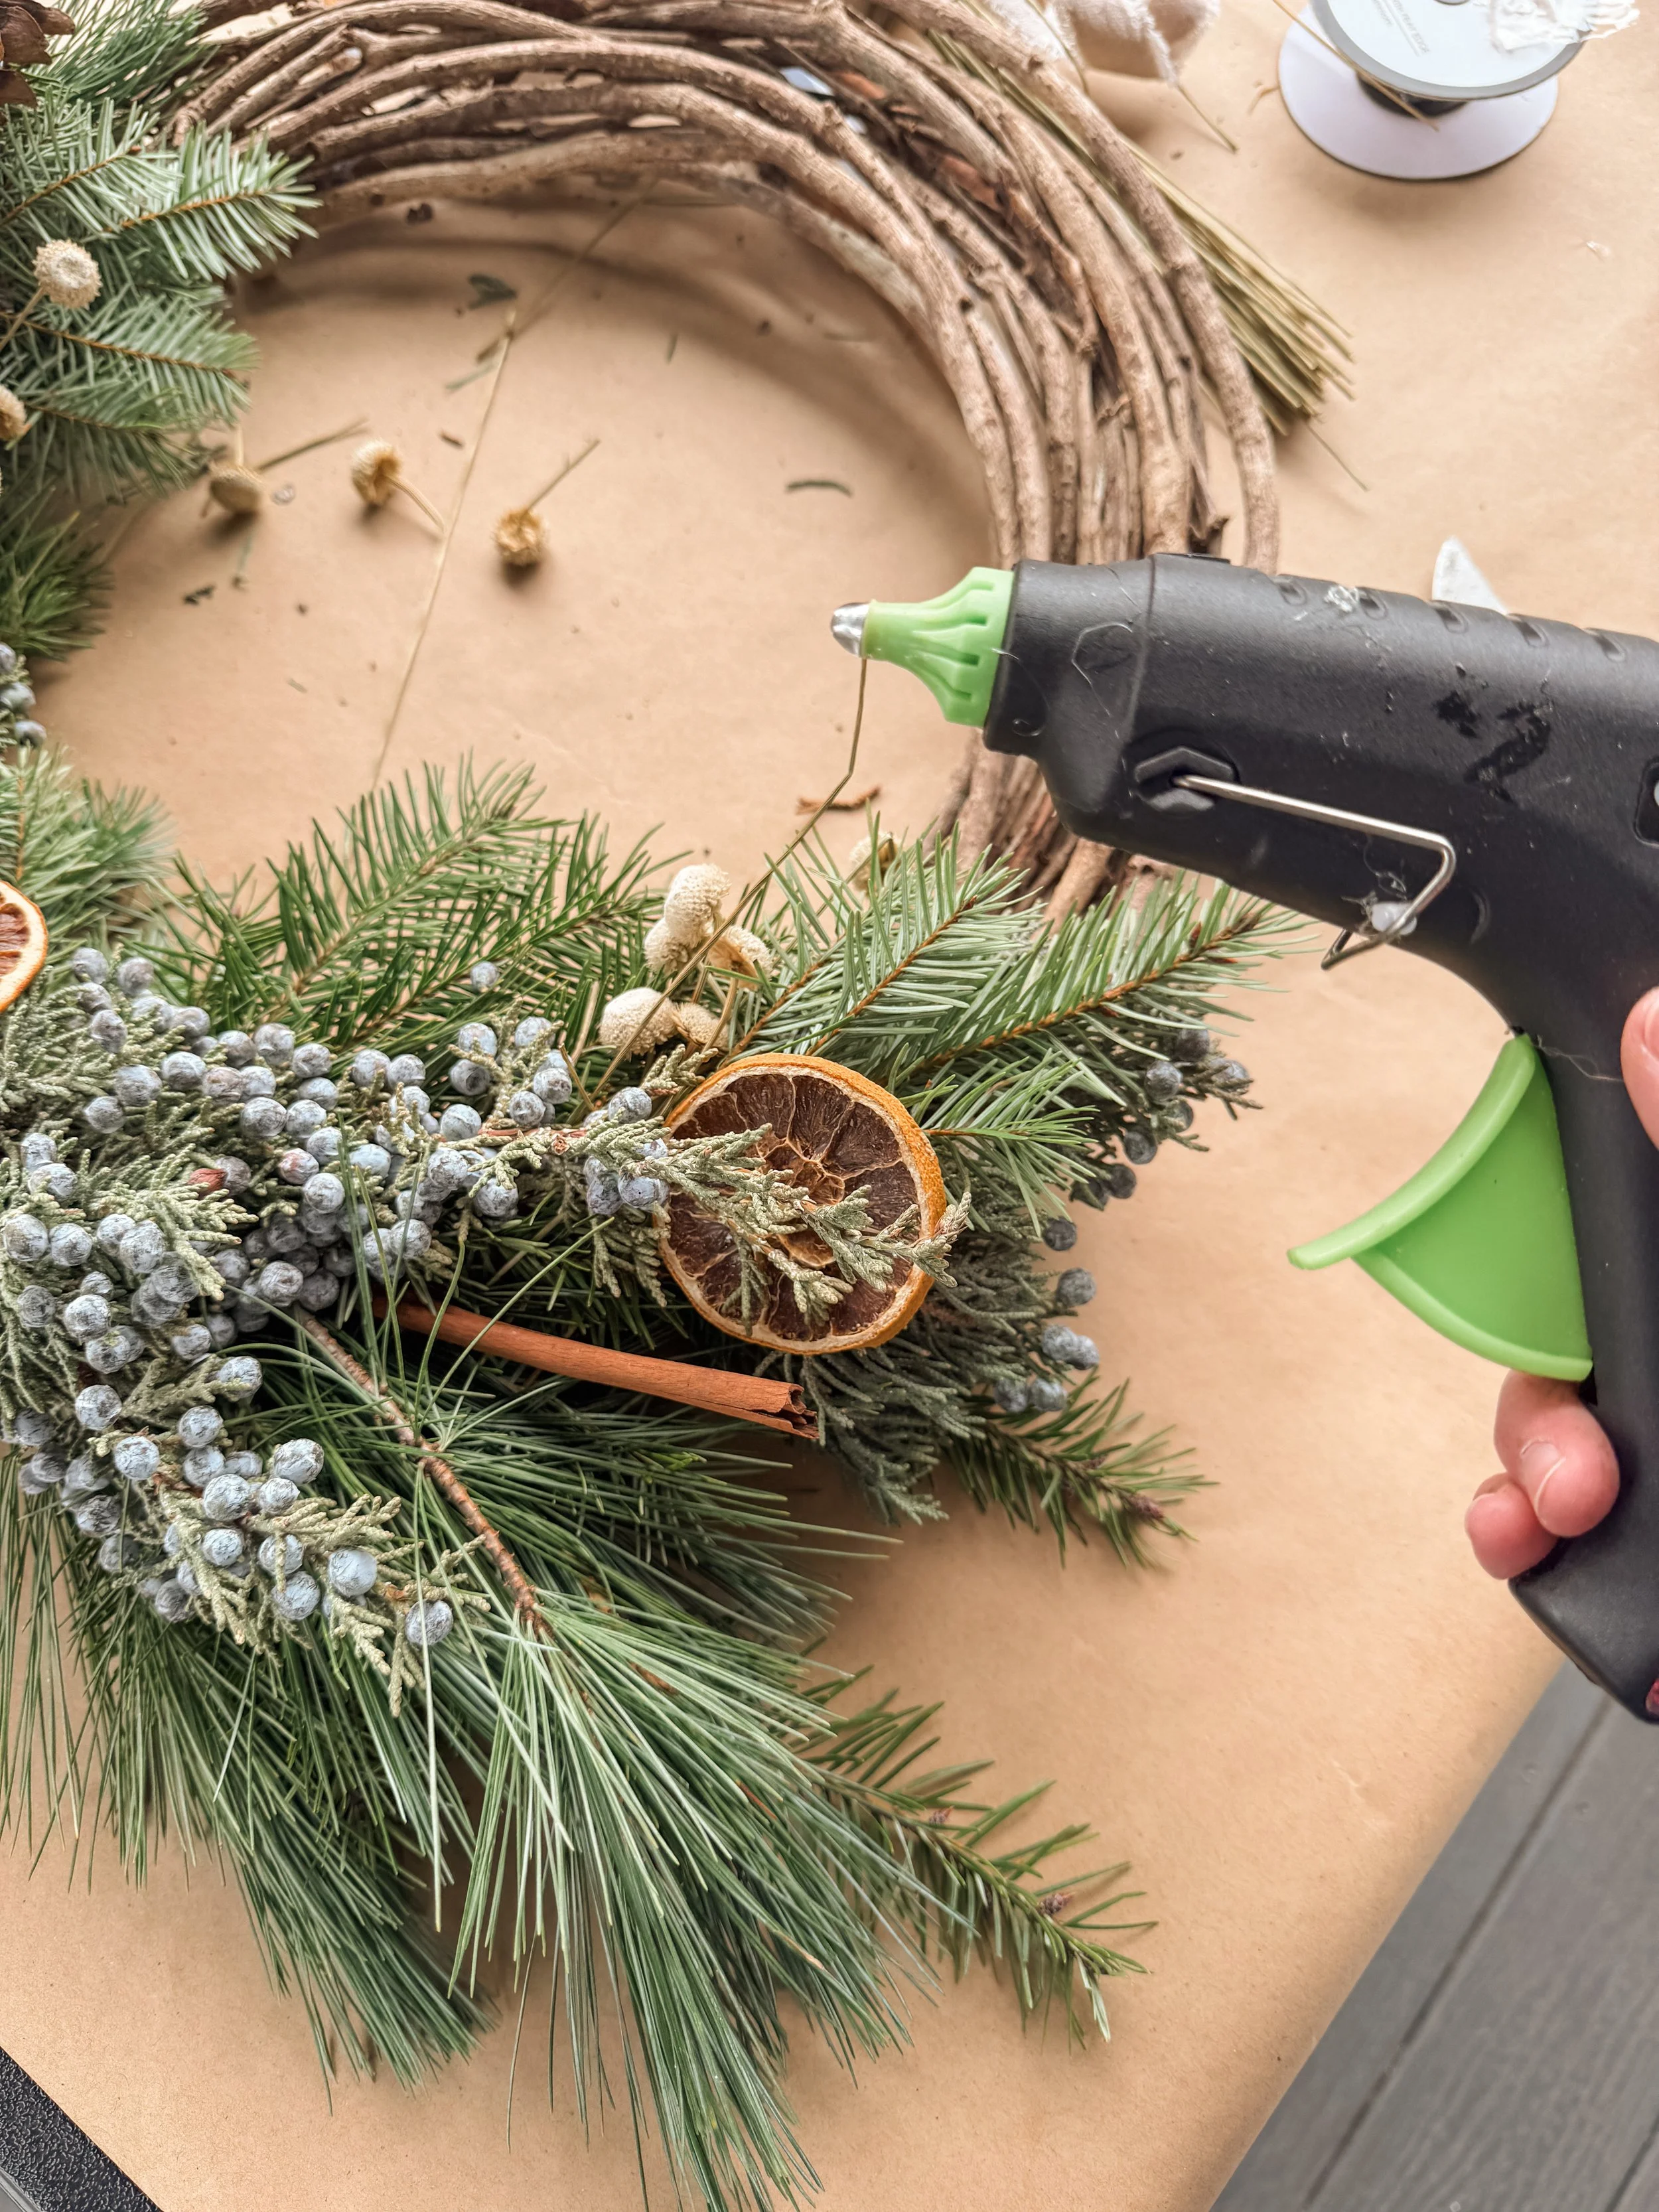
7. Place where you want to add the other decorative items. You can be as elaborate or as simple as you’d like here! Personally, I love a variety of textures and woodland elements in my holiday décor, but the simplicity of the branches is beautiful on its own.

8. Glue the various elements to the wreath. Pro tip: If you are gluing multiple dried fruit slices, glue them together as a trio, and then glue to the wreath.
9. Optional: Add a ribbon of your choice as a hanger. I love the look of velvet ribbon this time of year. So many options to choose from!
10. Hang on your door to impress the neighbors. Wow! Look what you created!

WREATH CARE
Natural wreaths can last quite a long time if cared for properly. It is ideal to have your wreath hanging outdoors, as they will dry out faster indoors. Mist your wreath weekly with water to provide moisture and prevent the bundles from drying out. You can also lay it outside on the ground while it snows for a bit, too.
Enjoy your wreath making experience however you choose to go about it! If you happen to make one of your own, please tag @redsquirrelflowerco so I can see your gorgeous design!
Merry Christmas and a Happy Holiday Season!
Brianna Anderson, Red Squirrel Flower Co.
Follow Brianna @redsquirrelflowerco